Childrens Drawing of a Tree
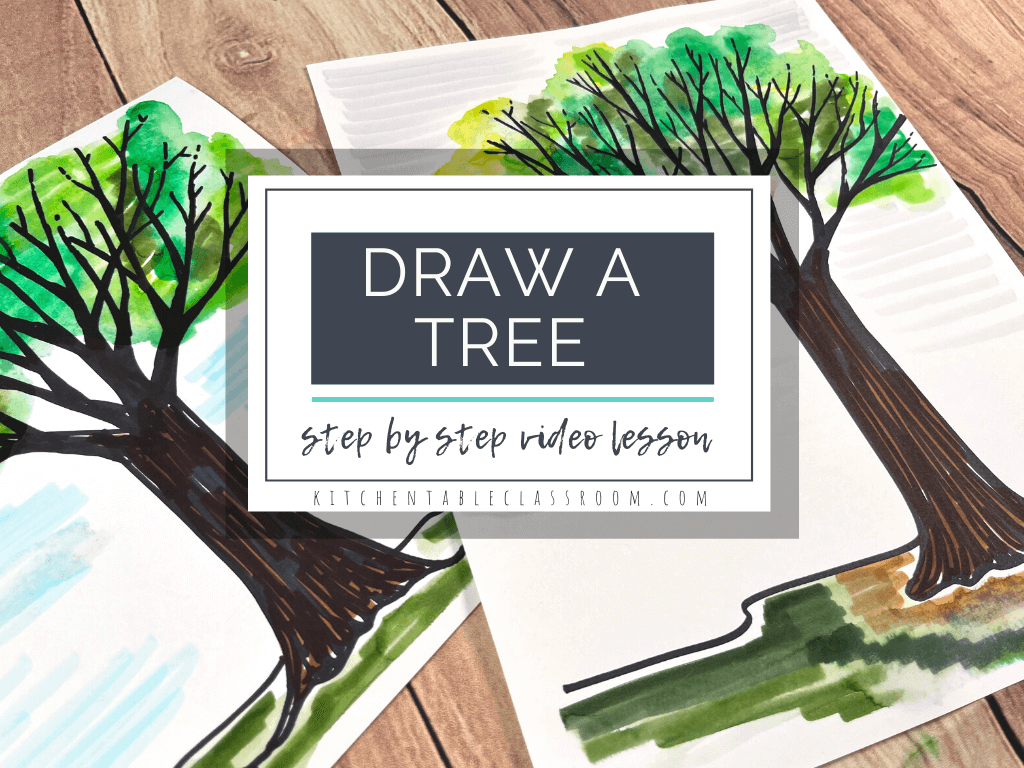
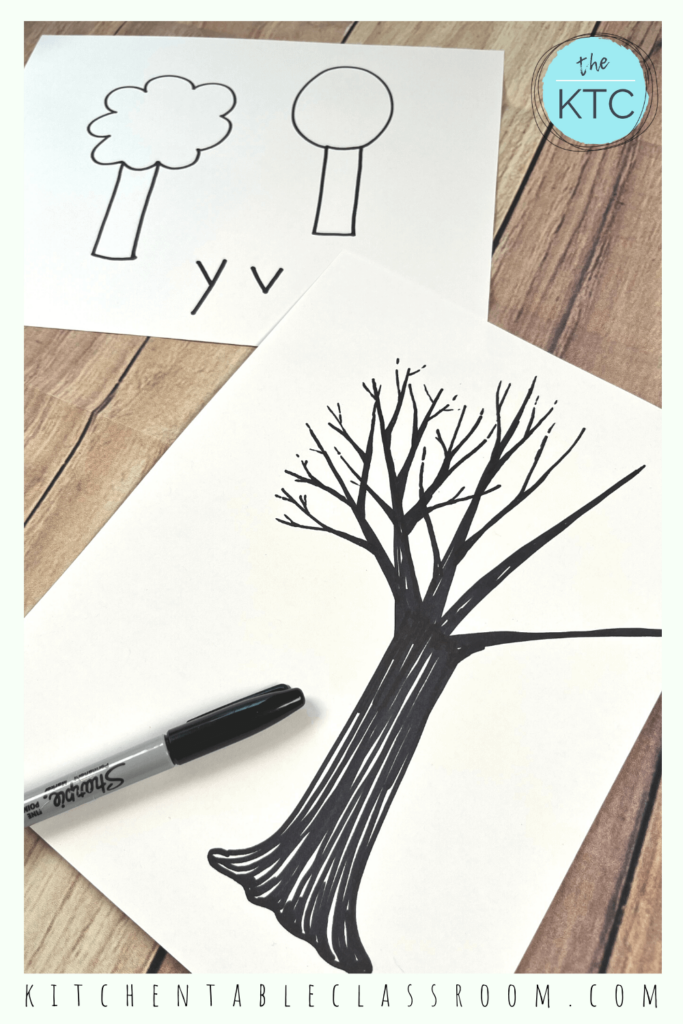
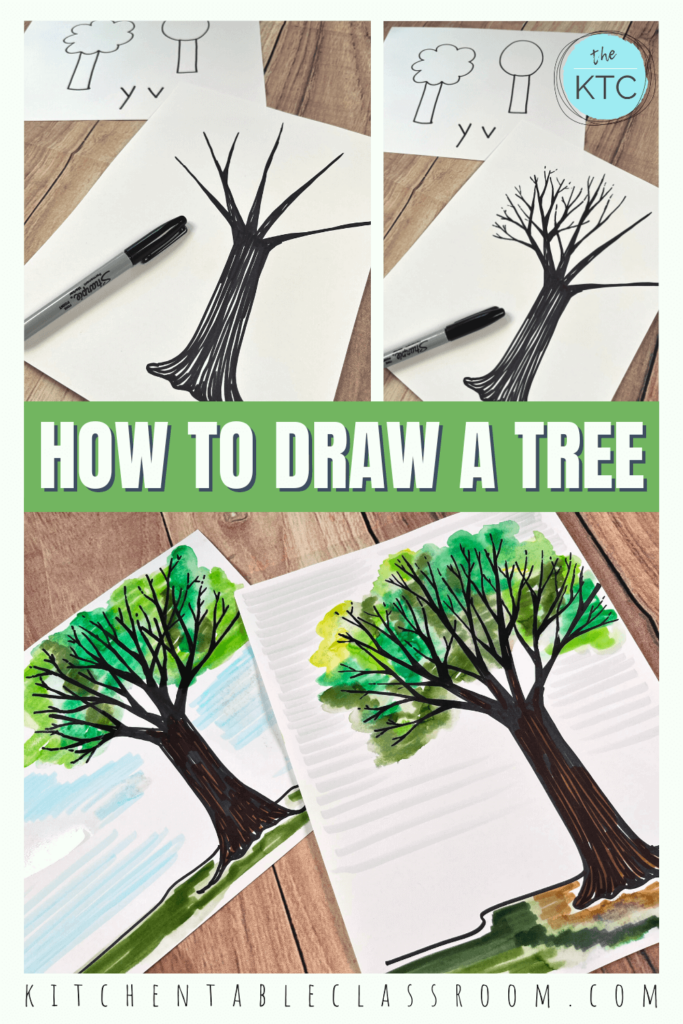
Follow along with these step by step directions and learn how to draw the tree using a series of letter "y"and "v" shapes. Be sure to scroll to the bottom for a complete video lesson on drawing trees for kids!
Materials for this tree drawing lesson for kids….
The tree drawing portion of this lesson can be done with any writing or coloring utensil you have hands- maker, crayon, pencils even. You'll also need drawing paper in the size of your choice.
If you intend to add color to your finished tree drawing with the painting with marker method that I use in this post it will be necessary to draw your tree in permanent marker. That will prevent the drawing from running when you add water later.
If you follow along with that step you'll need washable markers, like these Crayola watercolor markers, water, and a paint brush.
A stylized tree drawing…
If you can, start this tree drawing lesson by looking at a real tree, either in nature or in photos. It will be super helpful to have on hand as a reference or at least fresh in the mind!
The idea is to get away from drawing a stylized tree that often end up looking like lollipops or a cloud on a stick. Be sure your students know that you're not making fun of those styles of trees. They're great starting points and represent the parts of the tree well.
But, that by slowing, down, really looking, and adding a few key details they can draw trees that look very realistic!
What does a real tree look like…
Point out the when a branch has a smaller branch grow off if it it forms a "Y" or a "V" shape. Look at how all the branches, from the trunk down to the tiniest branches, start off a little thicker and get skinnier as they grow up and out.
Considering those concepts as your students learn how to draw a tree will make their trees much more realistic!
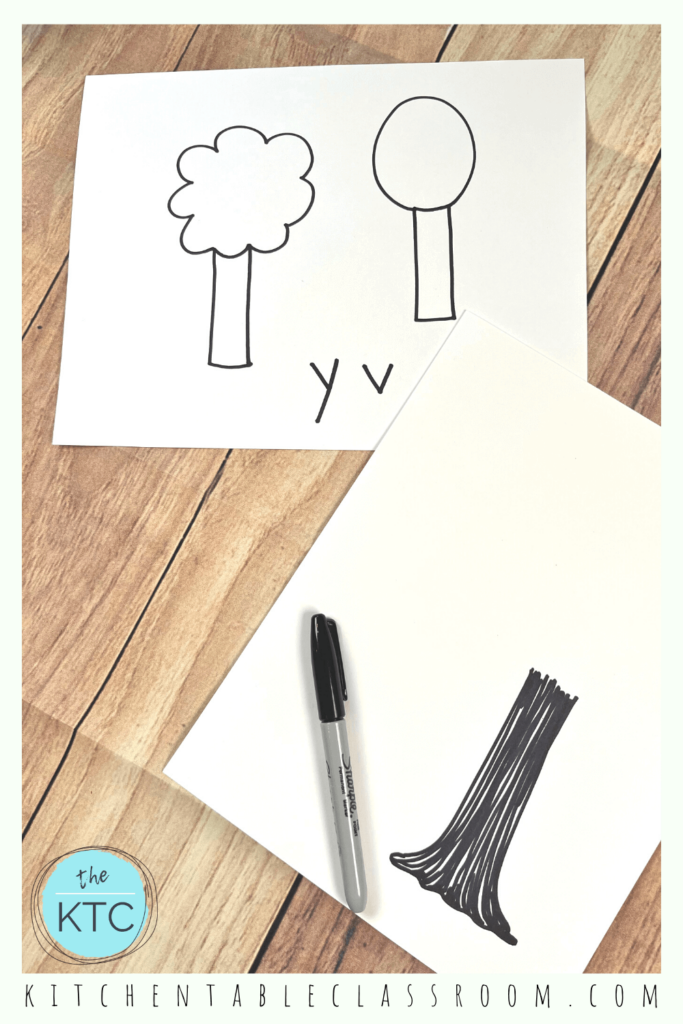
Draw a tree trunk…
Let's start our tree drawing by drawing the trunk. Just like every branch, the tree trunk will be wider at the bottom and get slightly narrower as it goes up.
Connect the bottom with an irregular, wavy line. Keep reminding your kids, and maybe yourself, that things in nature aren't perfect. Drawings don't have to be perfect either!
Now is good time to fill in the space inside the trunk with some value. Add some scribbles, some line, some texture, anything to fill in the plain white space of the paper. Adding color will help the trunk and the branches you'll be drawing soon blend together nicely!
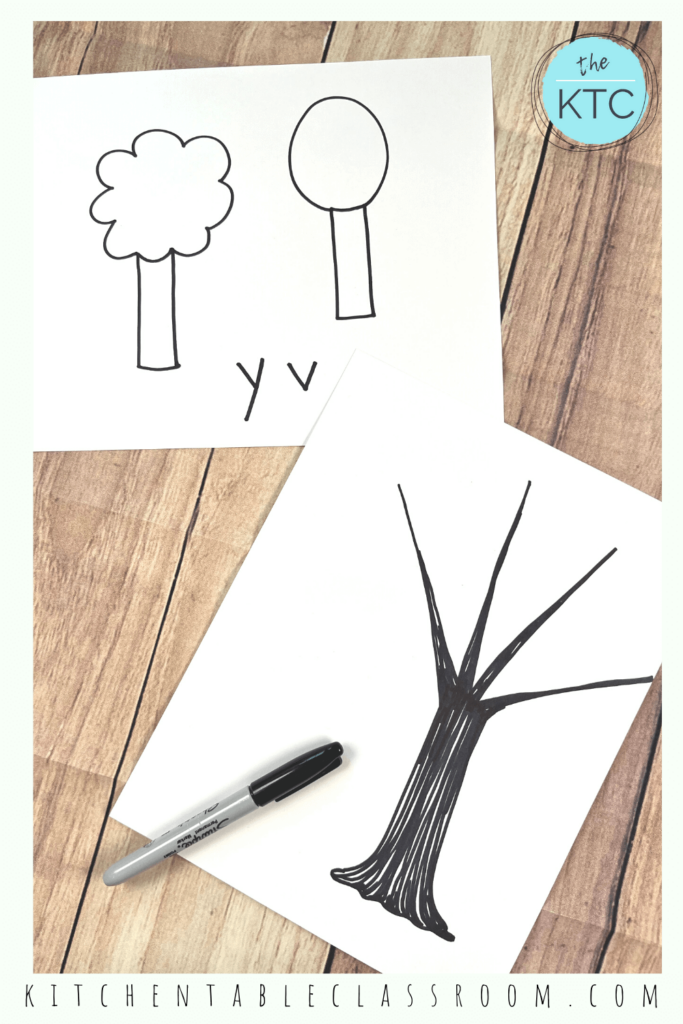
How to draw the tree with "y's" and "v's"….
The next addition to this easy tree drawing is to draw 3-5 large branches that "V" up from the main trunk. Remember that these branches will start "chunky" and thin out as they reach up and out. Add the some value to fill in the white space if the branches.
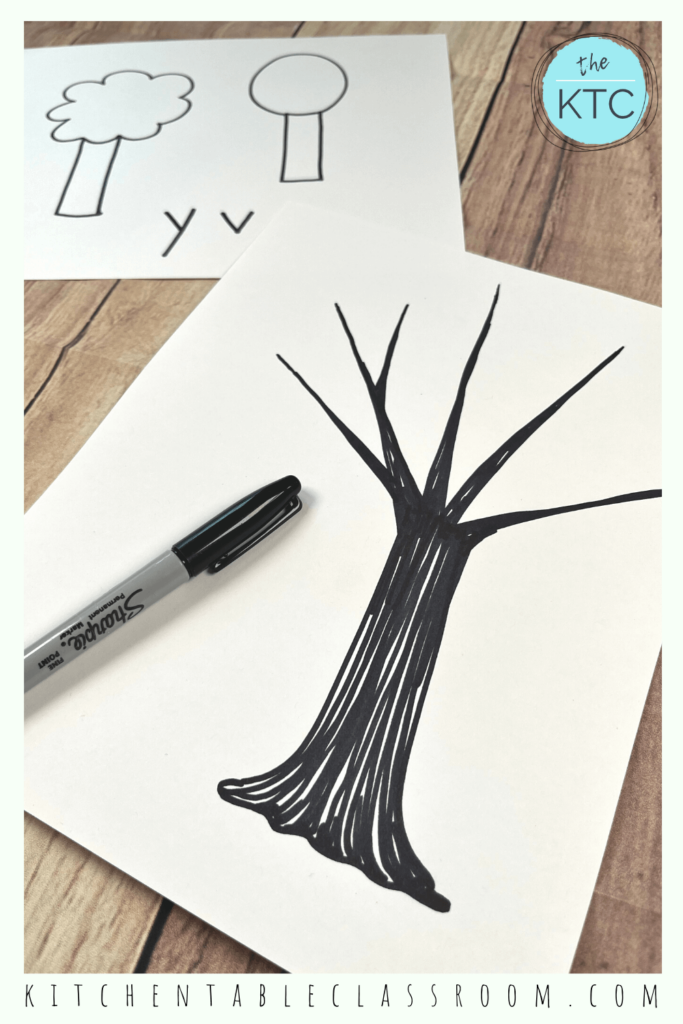
Add more "V's" to your easy tree drawing…
This tree drawing can be as simple or as complex as your young artists choose to make it. For every branch there is a smaller branch that will "V" off of it, each branch going from thick to thin.
This pattern can continue on indefinitely until the tree drawing is of the perfect shape and complexity. There is not one perfect place to stop.
Adding color to your simple tree drawing….
At this point the tree drawing is complete. Your students have learned some key concepts that will make drawing any tree easy!
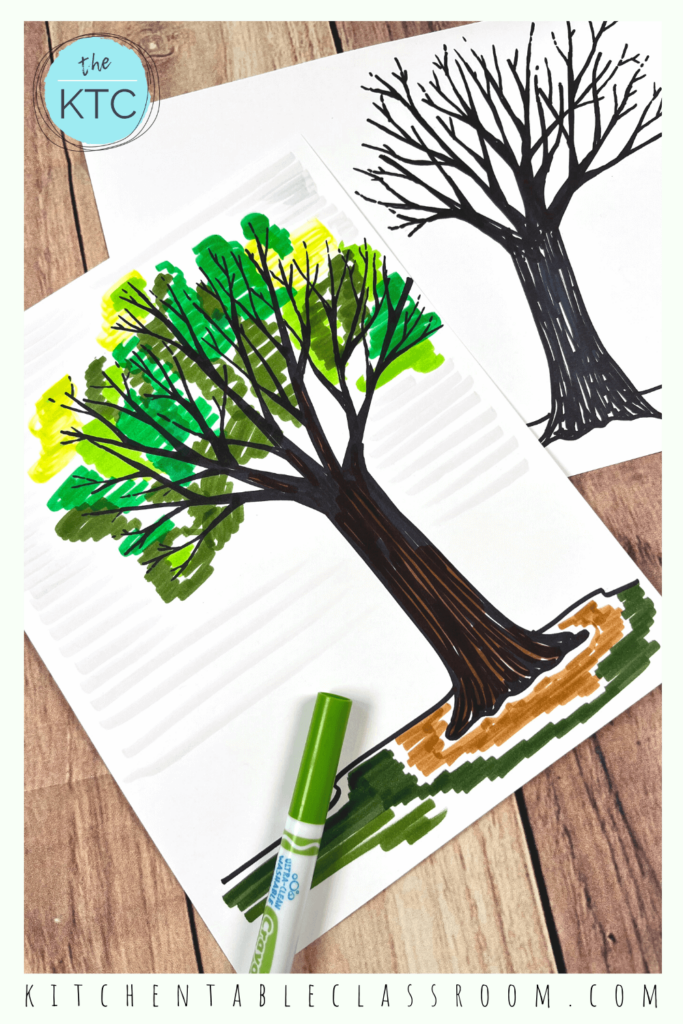
I chose to add some color to our tree drawings with a favorite method I like to call painting with markers. It's a simple and mess free way to get the look of watercolor paints. I love how it adds some color but still allows all the details of the tree drawing to shine through!
Using watercolor marker, like basic Crayola markers, add some splotches of color. They don't need to perfect or solid. Leaving some white space is good in this case.
Using water and a clean paint brush add some water to the marker colored areas of your tree drawings. Slowly, the marker will begin to liquify and move, taking on the appearance of watercolor paint. Don't overwork this step. Encourage your kids just to add the water and step away. The appearance of the marker and water will change over time.
Do you learn better by watching? Follow along in this FREE video lesson as we learn how to draw the tree using "Y's" and "V's"….
Grab you marker and we'll learn how to draw a tree together- the easy way!
If you enjoyed learning how to draw the tree using letter shapes please share this post!
Sharing on this post social media is the BEST thing you can do for me to help me grow and bring you even more new content!
wunderlichmilatichated.blogspot.com
Source: https://www.kitchentableclassroom.com/drawing-trees-for-kids/